Buying guide
Wall-Mounted Pull-Up Bar Buying Guide (2027): Studs, Span, Depth, and Hardware That Matters
How to buy a wall-mounted pull-up bar: map your studs, choose bracket depth for your training style, match span to structure, and plan the install like part of the product.

Map the wall before you shop the bar
Find every stud in the candidate span, mark centers, and note ceiling height and any pipes or wiring the wall may hide. Stud spacing, 16 in on-center in most modern framing, decides which spans anchor fully. A bar chosen before this step is a guess; a bar chosen after it is an installation plan.
Bracket depth is a training decision
Shallow brackets around a foot suit strict reps in finished rooms. Deep brackets near two feet and beyond clear the wall for weighted belts, straighter body lines, and dynamic work. Depth also projects into the room, so measure walkways and door swings with the same tape you used on the wall.
Top picks from our research
Full ranked list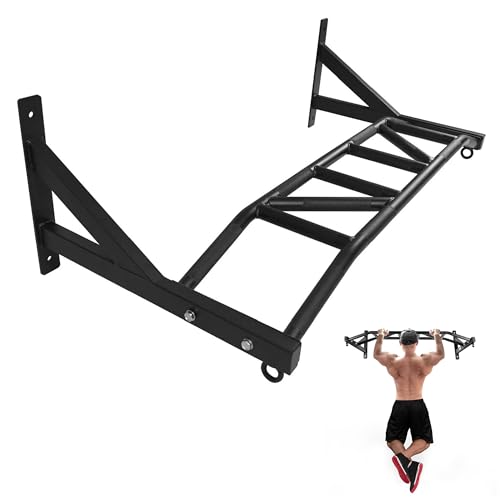
Span spreads load and buys rigidity
Wide spans crossing three or four studs feel commercial because the load path is shared. Compact spans concentrate force and flex sooner. Neither is wrong; the rating and your training load decide. Heavy and weighted trainers should buy span first and features second.
Hardware is not a footnote
Lag diameter, length, and pilot hole size determine whether the spec sheet survives contact with your wall. Quality hardware is cheap relative to the bar, and upgrading included fasteners is a normal, owner-endorsed move in the budget class. Torque every bolt, then re-check after the first week of training as wood and hardware settle.
Ceiling and floor complete the station
Your head needs clearance at the top of the rep and your feet need a plan at the bottom: full hang, bent knees, or a step for mounting. Garage builders with full walls should price the ceiling-mount route before forcing a wall install into a bad span.
FAQ
Questions, answered straight
Can I mount a wall bar in a rental?
Only with written permission; lag holes in studs are real alterations. Without it, a doorway leverage bar or freestanding tower keeps the deposit safe.
What tools does installation actually need?
A stud finder, level, drill with bits for pilot holes, a socket wrench or impact driver for lags, a tape, and a helper for wide frames. Masonry adds a hammer drill and rated anchors.
How do I know the install is solid?
Progressive loading: hang at partial weight, then full weight, then add slow reps while a helper watches the brackets for any movement or gap opening at the wall. Silence and stillness are the pass marks, rechecked after week one.